Let’s start the blog with a post that I’ve wanted to write for several years. I built this video magnifier in 2014, so technology-wise it’s a bit outdated now. I hope to soon publish an improved version (Edit: Raspberry Pi video magnifier 2018). Until then, the instructions may still be helpful.
With progressing age, my grandmother had more and more difficulties reading. Finally she was prescribed a video magnifier by her doctor, and her insurance agreed to pay the device, a professional one which cost several thousand Euros. Now she was again able to enjoy books, newspapers, letters and photos. She even baked again by recipe, although that meant to go to the living room, read another line in the recipe, keep mumbling it on her way back to the kitchen, and hopefully get one step further. That’s when I built a second device, this time simple and low-cost.

Ingredients
- Raspberry Pi (Model B)
- Raspberry Pi Camera Module
- Micro-USB charger 1.2 A
- SD card (8 GB, class 10)
- HDMI cable
- USB LED light
- Monitor with HDMI or video (cinch) input
- Monitor mount (optional)
- Power strip with on/off switch (optional)
- Raspberry Pi case (optional)
Helpers
- Card reader
- Screw-wrench size 8 (Schraubenschlüssel 8)
- Small pincers (Minizange)
- Paper cutter
- USB mouse and keyboard
Prepare camera
This step was needed with the original Raspberry Pi cameras, as they were glued to wide-angle focus. The newer versions are not glued anymore, so you can change the focus easily.
- Source: http://www.raspberrypi.org/macro-filming-and-photography-with-the-camera-board/
- http://www.truetex.com/raspberrypi
- Remove transparent plastic protector from lens
- Mark original lens position with some marker (in case we want to restore it)
- Carefully cut through the glue points that hold the lens fixed (with paper cutter)
- Rotate lens about 45 degrees counter-clockwise (with pincers and screw-wrench)
- Insert camera cable into connector, blue side towards the HDMI port
Install Raspbian
- Download Raspbian from http://www.raspberrypi.org/downloads/
- Follow installation instructions: http://www.raspberrypi.org/documentation/installation/installing-images/README.md
Setup Raspberry Pi
- Insert SD-card
- Connect mouse, keyboard, screen, ethernet cable
- Insert USB charger
- Setup Raspbian
- Connect camera module
- Enable camera
Install camera
- Source: http://www.raspberrypi.org/documentation/usage/camera/
- If the camera doesn’t work (raspivid doesn’t show any image) you may have to troubleshoot:
- http://www.raspberrypi.org/forums/viewtopic.php?f=43&t=64750
sudo apt-get update
sudo apt-get dist-upgrade
sudo rpi-update
sudo reboot
- http://www.raspberrypi.org/forums/viewtopic.php?f=43&t=64750
Bootup without asking for login
- Source: http://elinux.org/RPi_Debian_Auto_Login
- sudo nano /etc/inittab
- Change “1:2345:respawn:/sbin/getty 115200 tty1” into “1:2345:respawn:/bin/login -f pi tty1 /dev/tty1 2>&1”
- Exit and save (Ctrl+X -> Y -> Y)
Setup and boot into camera view
- Now we come to the screen view. You may want to experiment with raspivid parameters on the command line, until the parameters make sense for you. Ctrl+C gets you back to the command line
- nano .bashrc (or /etc/profile) and append to the end of the file:
# automatically open the camera view with raspivid
# roi defines magnification by selecting a subset of the camera view. Adapt depending on the camera position and desired scale
# roi values are x,y,w,h in [0,1] (e.g. 0,0,1,1 for whole area)
# rot defines the rotation, depending on the camera's position
# other values like ISO and awb need some experimenting as they depend on lighting, monitor and personal preferences
# more details with raspivid --help
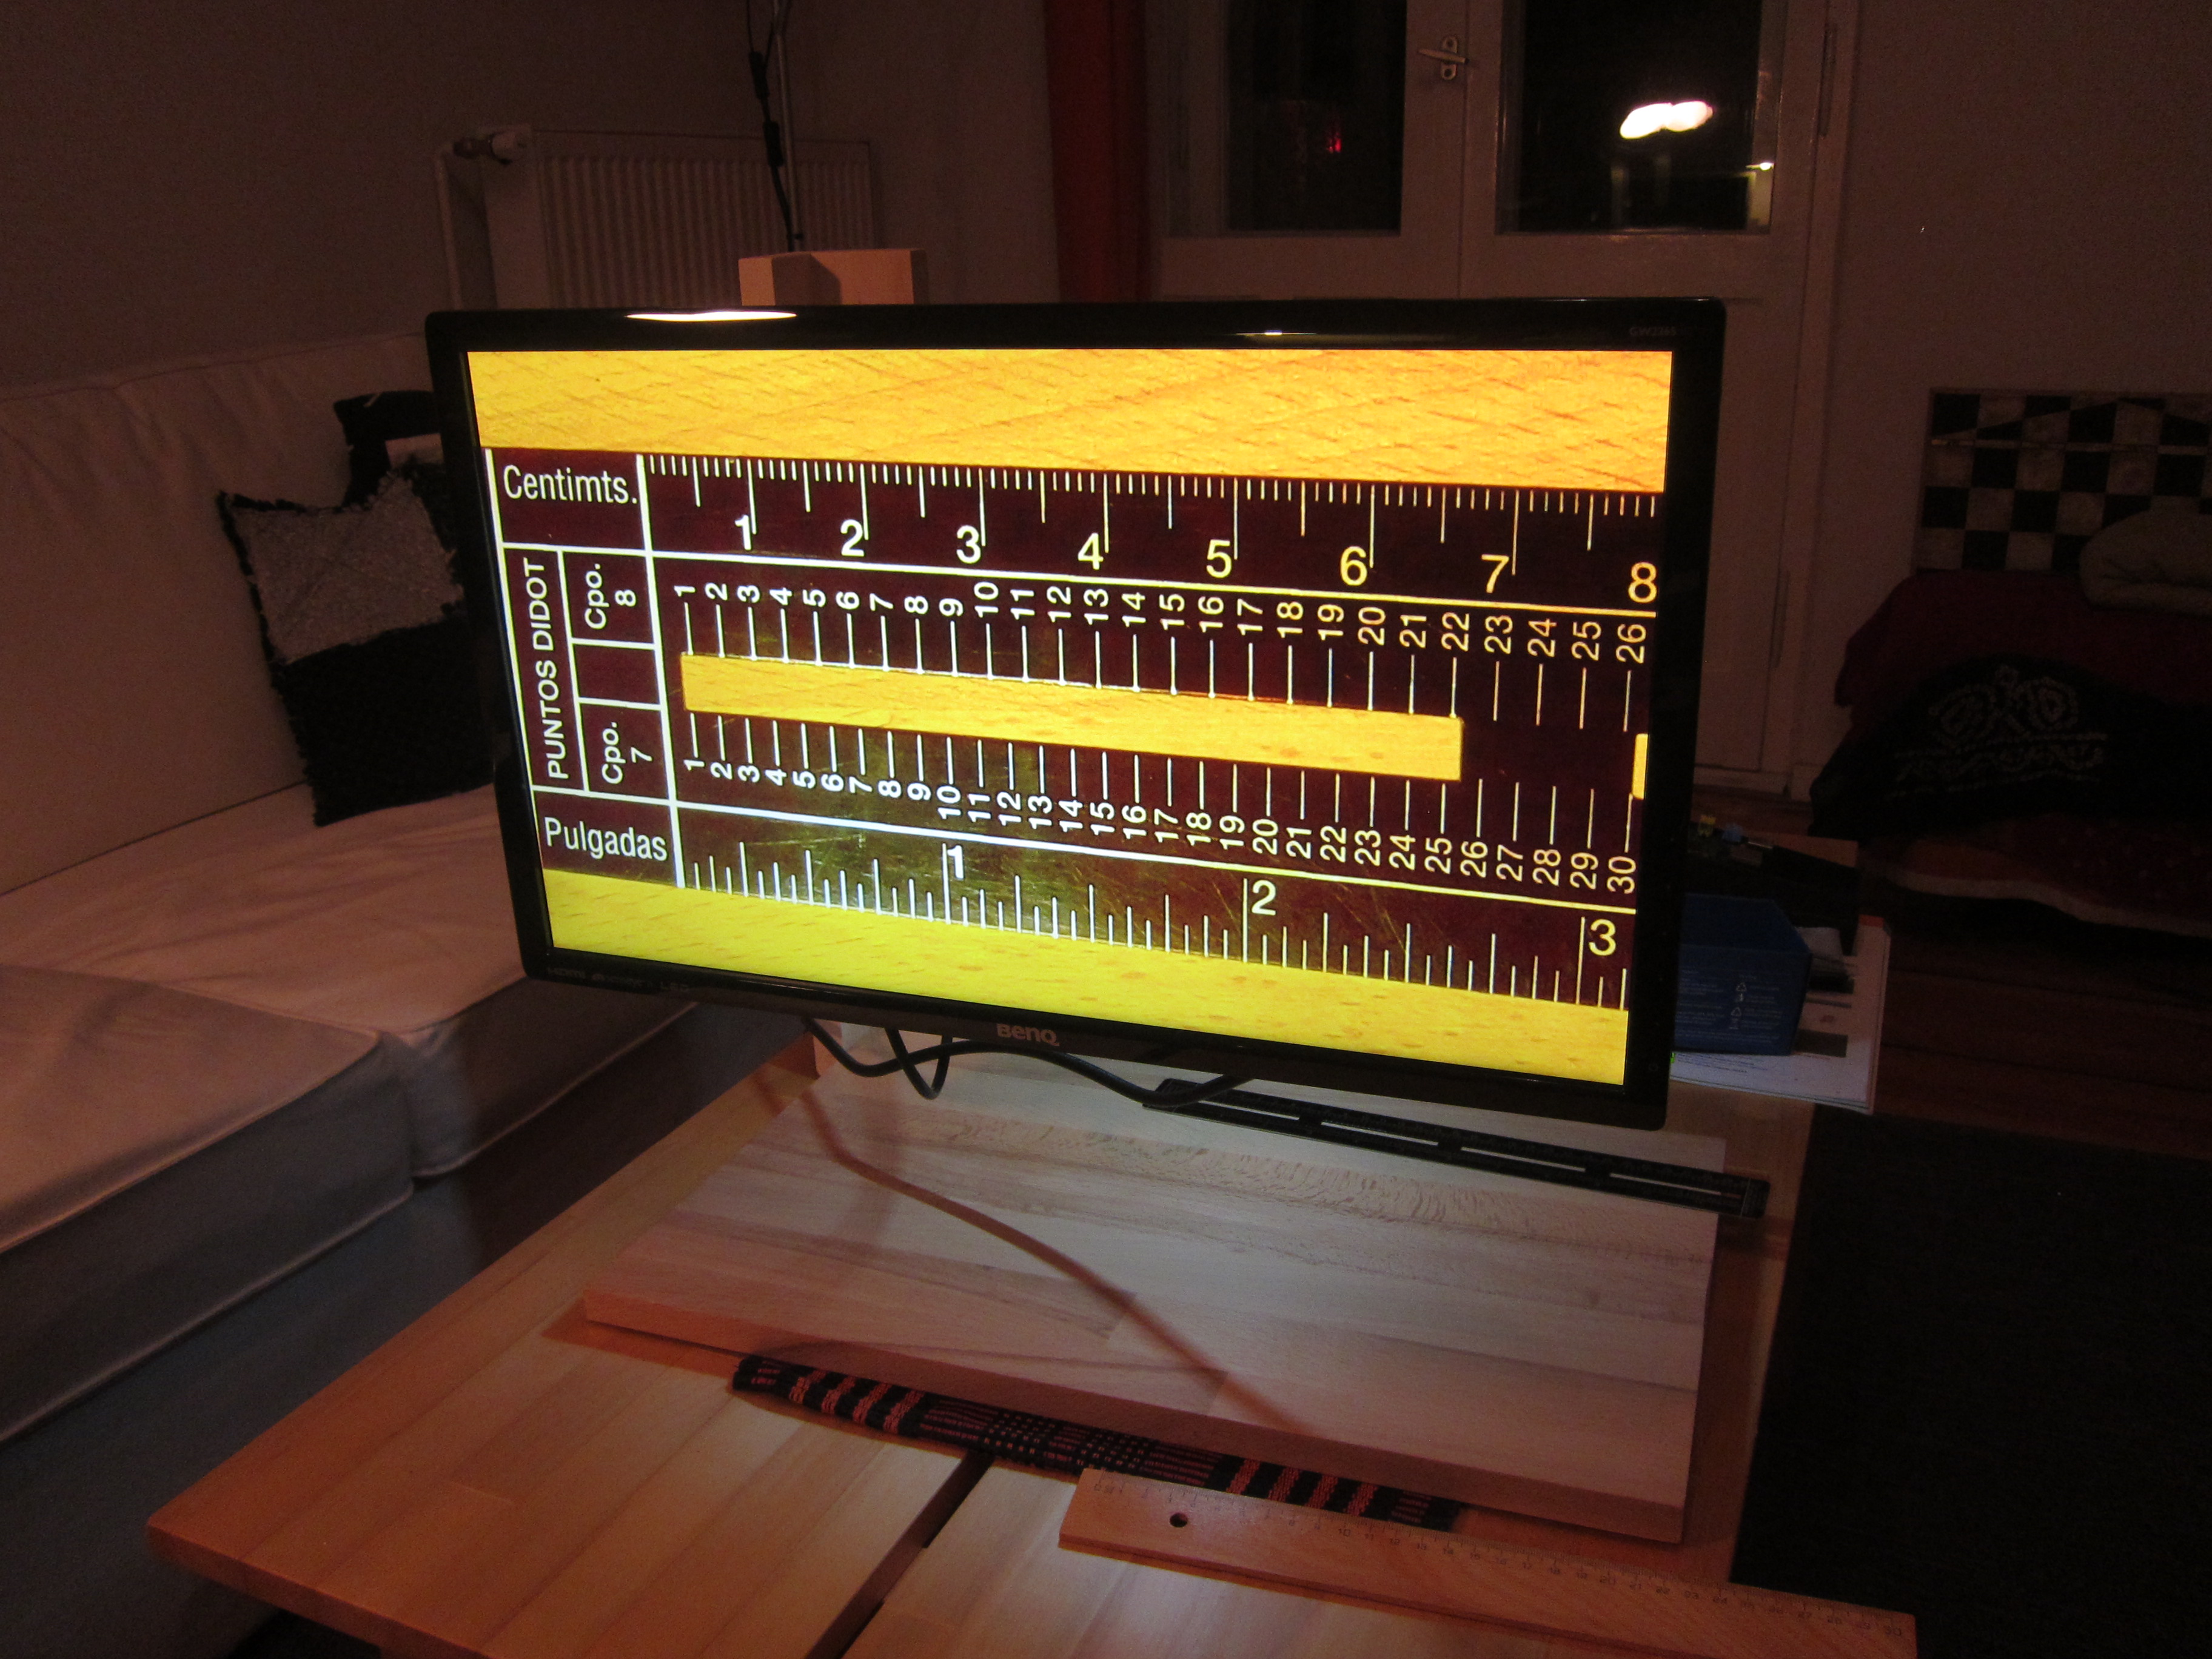
raspivid -t 0 -roi 0.3,0.6,0.4,0.4 -rot 180 -ISO 100 -awb off -co 50Splash screen / hide startup output
- Source: http://www.edv-huber.com/index.php/problemloesungen/15-custom-splash-screen-for-raspberry-pi-raspbian
- copy an image to /etc/splash.jpg (or other name / format)
- sudo apt-get install fbi
- sudo nano /etc/init.d/asplashscreen
#! /bin/sh
### BEGIN INIT INFO
# Provides:          asplashscreen
# Required-Start:
# Required-Stop:
# Should-Start:
# Default-Start:     S
# Default-Stop:
# Short-Description: Show custom splashscreen
# Description:       Show custom splashscreen
### END INIT INFO


do_start () {
    /usr/bin/fbi -T 1 -noverbose -a /etc/splash.jpg
    exit 0
}

case "$1" in
  start|"")
    do_start
    ;;
  restart|reload|force-reload)
    echo "Error: argument '$1' not supported" >&2
    exit 3
    ;;
  stop)
    # No-op
    ;;
  status)
    exit 0
    ;;
  *)
    echo "Usage: asplashscreen [start|stop]" >&2
    exit 3
    ;;
esac- chmod a+x /etc/init.d/asplashscreen
- insserv /etc/init.d/asplashscreen
- sudo reboot
Prepare mount
This is the most creative part, and up to you. I built a wooden monitor mount that would nicely fit with my grandmother’s interior. However, you could even just build a stand for the camera, and connect the Raspberry Pi to an existing TV with HDMI.
Discussion
This is a potentially helpful device, that can cost less than 100 Euros if using an existing TV / monitor. However, it’s worth noting the shortcomings compared to professional devices:
- Fixed magnification: the user cannot easily change the scale factor when looking at different sources (e.g. letter vs. photograph)
- No special view modes, e.g. colour-inversion
- No easy handling of the source, e.g. to move around a book
- Booting is slow
- Device is simply powered on / off, which might damage the board or sd-card at some time (although seems to be very rare in reality)